Wednesday, October 30, 2013

Oh Happy Day!: Susan Branch Giveaway

I don't think its a secret that I love Susan Branch! Her art is so charming, recipes delicious & home adorable! So when I think of what I want to look at at least once a day, everyday I think Susan Branch! I shared this photo the other day to tease you all just a bit! Isn't is so whimsical, Hee Hee... 


I'm sure you all can tell how excited I am to share the 2014 Susan Branch Mini Calendar with you all this giveaway! I have already gifted one to my mother in law for her birthday a few weeks back, but I just knew I needed one to share with you, too!!


All the details & rules:

If you haven't already; follow here & like my Facebook page!

The Prize is: One (1) Susan Branch 2014 Mini Calendar & free shipping!

Who will win: One (1) winner

To Enter: Comment below on this blog with;  your favourite month! Maybe your birthday month, or your child's. An anniversary month is good, or maybe the start of a new season! 

Prize ships for free in the U.S. only

Contest Ends: on Friday November 1, 2013 at midnight. I will pick the winner using random.org & send you a message privately on Facebook! Winner announced the following Monday.

best wishes & happy everyday, holiday!

Monday, October 28, 2013

Fall Flavor: caramel apples from scratch

While planning Sydney's Halloween party I knew I needed to keep it children friendly, meaning simple foods, that they can grab & go. For the most part, it seems that children look for food they recognize at these kinds of events. They don't want to mingle & talk to me about the dip, they want to get their food quickly & get to socializing with Sydney! I thought long & hard about what kind of food I wanted to make, I really don't want to serve things that won't be a hit because the last thing I want is them to  feel hungry & gorge on candy! If you checked out my mood board for this shin-dig, you'll see that I wanted to sneak healthy foods in. Granted it might not be the biggest victory, sneaking in fruit under candy, but it's a start! 

This was my very first time making caramel from scratch & I was crazy nervous. It seemed so scary, like I was for sure going to ruin a pot & most likely catch the house on fire. I am happy to declare I was really, really, wrong. About ten minutes is all it took but I will say you have to watch it, it goes from "smooth sailing" to, "i'm going to burn", if you don't pay attention! So for this one, i'm going to say this is an adult recipe while the kids watch from afar.


Made with Love: Caramel Apples

Apples
3/4 Cup sugar
1/4 Cup water
1/2 Cup Heavy cream
1 1/2 Tablespoons butter
Dash, Lemon juice
Bamboo Skewers
Scissors
Toppings (sprinkles, marshmallows, nuts, pretzels)
Something to put candy apples in or on ( a foam block, a plate, or get creative like I did!)

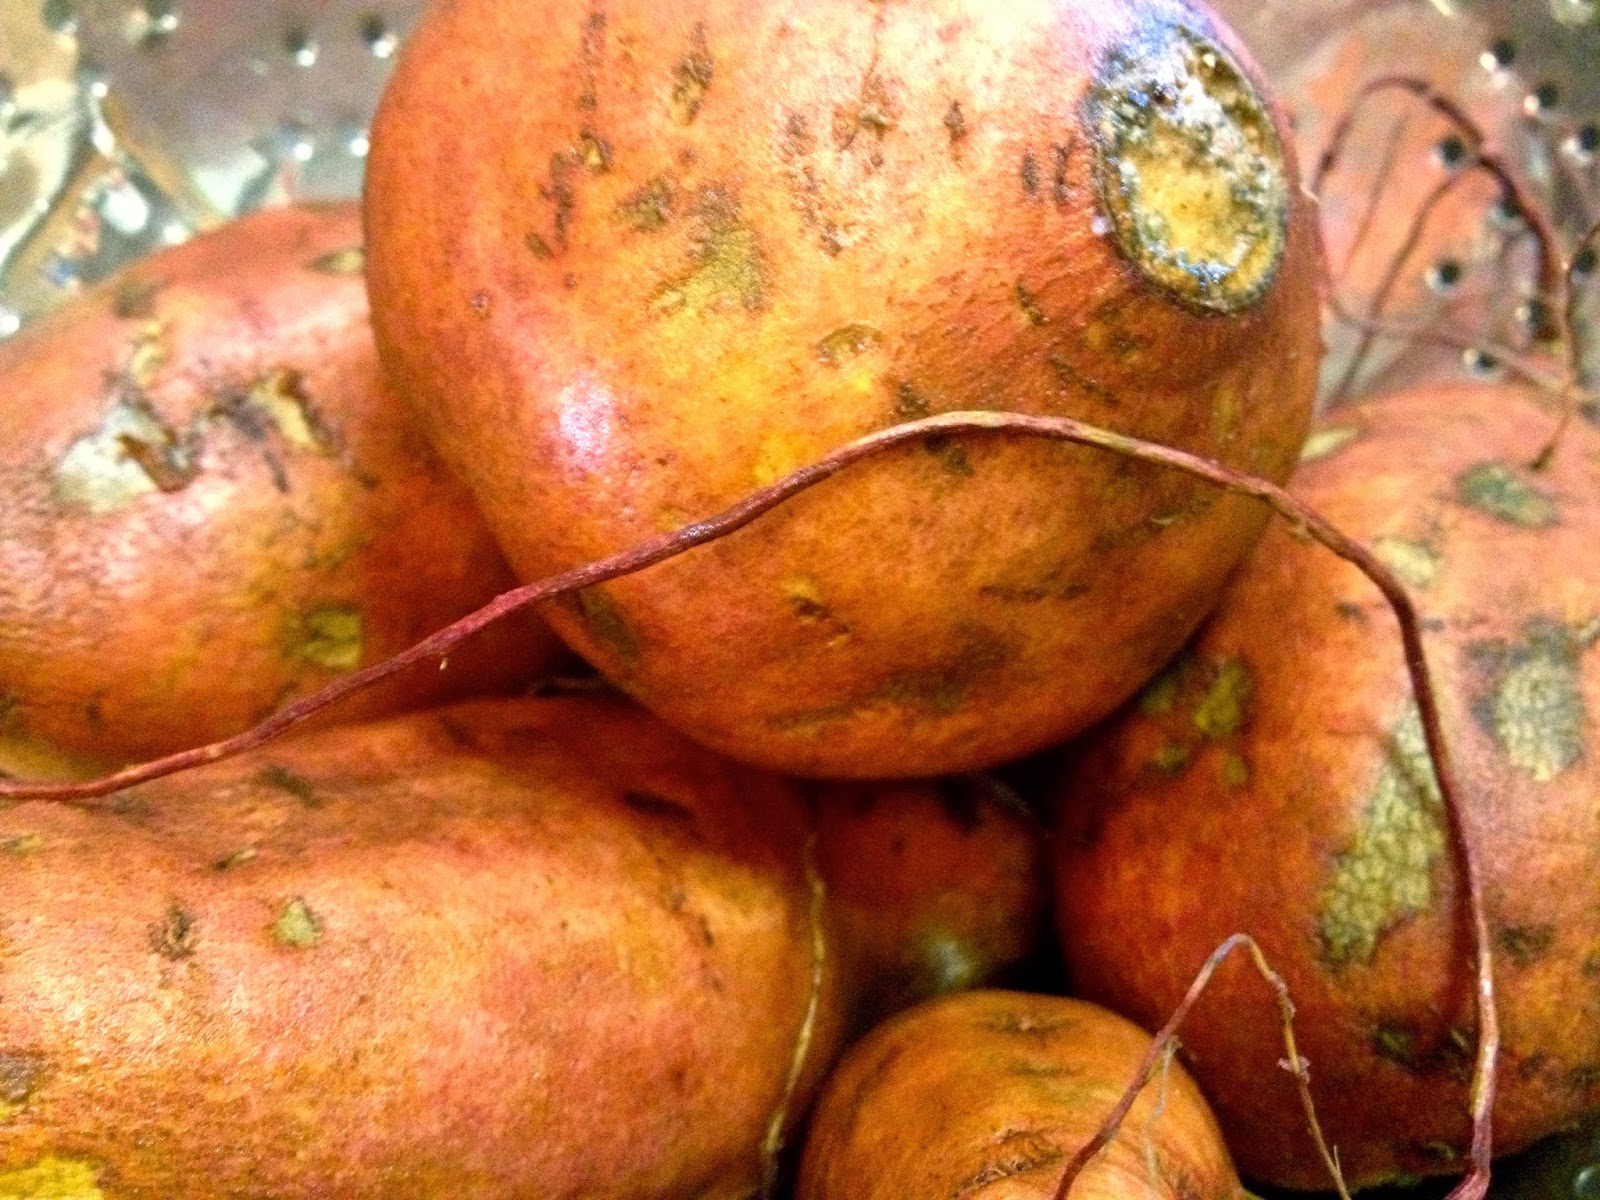
Begin by washing the apples & setting aside, I used Rome apples but you can use whichever kind you like, I choose them because they were small, a little tart & on sale!


 Next cut skewers to desired length.
 Choose a deep pot & wash (even if it seems clean, give it a good rinse, caramel is persnickety)! 
Get all of your ingredients poured out & placed within arms length.
 Pour sugar & water in pot, make sure all the sugar is covered with water, lightly stir.


 Cook on medium heat stirring frequently, this will be a few minutes of stirring & watching, slowly the sugar will melt & become a syrup consistency.


 At this point put a few drops of lemon juice in the pot (this will help to prevent clumps in your mixture). 


Slowly it will start to become an amber color. Once it is the desired color of caramel remove from heat. 


Quickly stir in butter & heavy cream.

 It will bubble like crazy, keep stirring, all of the sudden it will become smooth & actually look like caramel! 


You did it! I know it was scary, but pretty easy at the same time! It just needed a little of your love!

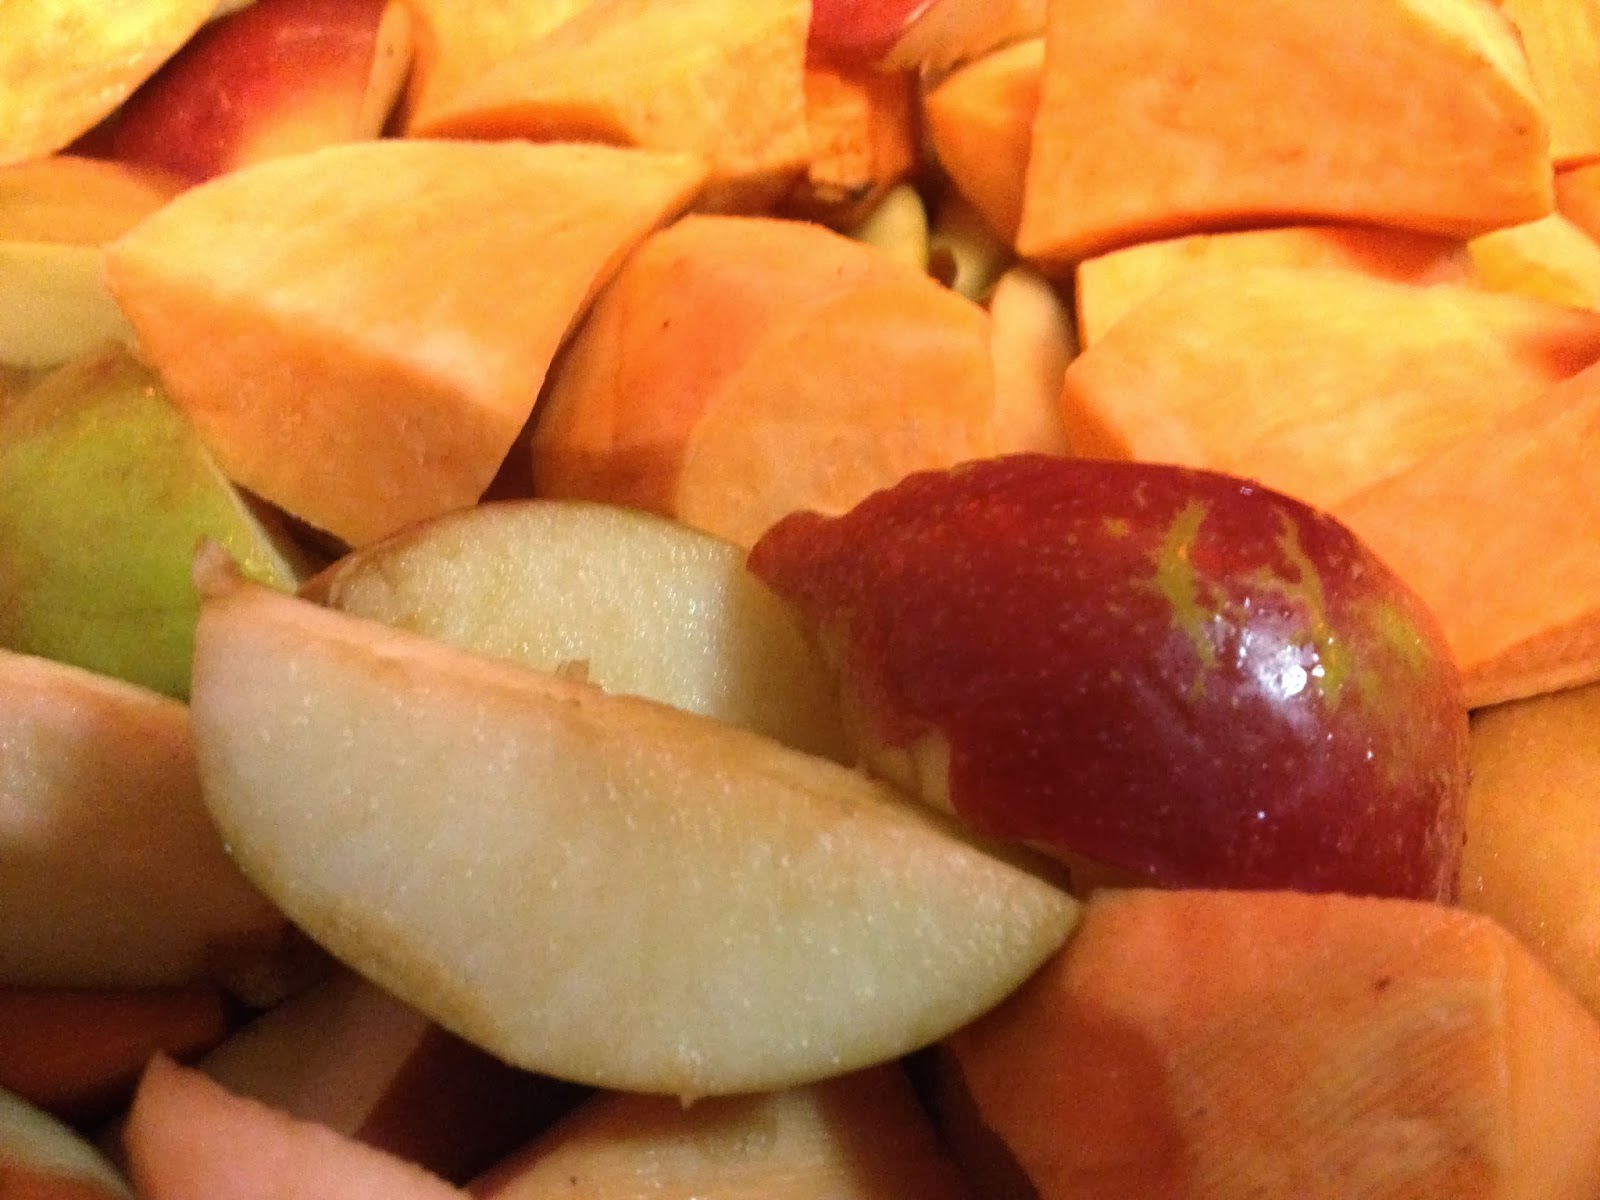
Once the caramel has cooled down a bit, skewer your apples & dip away! 


Let them cool a little more  & become tacky instead of runny, then decorate to your hearts content! I like salty sweet so I made one with pretzel crumbs! The rest I decorated with sprinkles or left plain for the picky eaters, like Sydney.


& if you're wondering what I used to place my caramel apples while drying, I had a store bought birthday cake container, so I just poked holes for the skewers & rested the apples on top. Now go get creative!


It's just another everyday, holiday with jillie


Sunday, October 27, 2013

Halloween Party Mood Board!

The week of Halloween is finally upon us! I am so excited! Halloween is on a Thursday this year but I'm not going to let a silly school night ruin our fun! Sydney has arranged an intimate get together with five of her closest friends. With friends & family there will be about 10 of us this year. I love having her friends over, it's a window into a part of her world I don't always see. 13 has had highs & lows but overall she has made more decisions that I am super proud of than not & the friends coming are a great group of kids, I can't wait to share their holiday with them!


Making a mood board is a fun way to get all of your inspirations in one place. Then you can save it to look at year after year, it's like a journal of your home! I like to use Picasa, it's free & I like how easy it is to use! All your pictures in one place, easy to edit, add text & make collages. To use, I downloaded Picasa, & then added images into a folder on my desktop from inspiring places! My folder immediately loaded to Picasa, easy-peezy!. Next, I hit the "create a photo collage" button toward the top & then played around until I was happy with my results, layering in text & playing with the font! So here you have my Official Halloween Party 2013 Inspiration Mood Board! 


1.

GimmeSomeOven has a wonderful idea for making cups out of apples & I have to say, I am smitten! This is adorable for any night around a campfire including Halloween!

2.

 I will be making caramel from scratch later this week & posting a tutorial of candy apples, yay!

3.

 Snoopy & the Peanuts gang are my favourite seasonal friends! Get used to seeing them with everything I decorate! 

4.

Witches brooms are a fun & easy to make. Just buy some fruit rolls & snip into the shape of broom bristles, peel from wrapper & then wrap around pretzel sticks! Easy-Peezy!

5.

What is a witch without her hat? This was always one my go to snacks in the classroom. Fudge striped cookies, orange frosting & a kiss! Thats all you need to make these spooky snacks!


6.

Pumpkins & twinkling lights! The best Halloween combo!

7.

What's a party without cupcakes? 


8.

Creepy lighting is a must for this Halloween soirée!

9.

I can't just feed these kiddo's junk food, so I've found a creative solution to a veggie tray & i'm using small pumpkins to hold the dip!!


10.

I want to make sure I have plenty of candles & pumpkins on the table, I find wonderful inspirations from the Dining Delight blog!

11.
Matt loves punch, & he thought we should incorporate this traditional recipe of bubbling witches brew!! I love the whole family getting involved in the planning!

12.

& lastly, something that actually resembles a main course, these mummy hotdogs will be great for the kids to grab & go, as they rush out the door to find tricks & treats!


I hope you all take away some inspiration from my mood board & have fun planning your own parties this week!!

It's just another everyday, holiday with jillie

Friday, October 25, 2013

Fall Flavor; hearty chicken & rice with vegetables soup

Happy Friday! Don't forget the giveaway ends tonight at midnight so be sure to go HERE for your chance to win!  & best of luck!

I like to cook whole chickens, it lasts the family for days & there are so many varieties to how you can make them that I never seem to run out of new flavor opportunities! I've noticed the last few times I made one for dinner though, that there was so much chicken left over. I am a waste not, want not kind of person so I knew I needed a trick up my sleeve for the rest of this chicken! Now that it's cool (Yes, finally today I really needed to wear my sweater in Florida) I thought to myself , SOUP! It was an exciting thought because I knew the family would be happy & you would be excited by how simple & delicious this is to make!

 This chicken soup is a classic example of comfort food & on a cold fall night there is nothing better! I used something new for this recipe & am thrilled with them! Rather than using bullion cubes or chicken broth I bought something called better than bullion. It is awesome! I love the flavor & one tiny jar has 38 servings! I am experimenting with making my own chicken broth, so this is a great solution for right now.
All you need is 30 minutes for this recipe, this is an essential recipe box addition & one you can make with your children, who doesn't love a cute little helper in the kitchen?


  chicken & rice with vegetables soup

3 cups chicken 
1 1/2 cup rice (uncooked)
1 cup baby carrots
1 can peas
2 cups green beans
2 1/2 quarts water
6 teaspoons better than bullion
fresh basil
fresh oregano
salt & pepper to taste


Start by removing 3 cups of chicken from the bone of a fully cooked whole chicken.


 Wash all vegetables, even if they say they have been, in warm water. Snap green beans in half. Cut baby carrots.


 Open & strain can of peas.


Pour 2 1/2 quarts of water into a stockpot. Add 6 teaspoons of better than bullion, & stir to dissolve.


 Add all the ingredients to your pot;  fully cooked chicken, uncooked rice, veggies & spices.


Bring to a boil & then cook between medium & low for 1/2 hour.Your carrots will be tender & the chicken moist!


 Magnifique!

It's just another everyday, holiday with jillie

Thursday, October 24, 2013

Fall Giveaway!

For my first giveaway I have decided I 'd like to give you all something I myself love. After raving about it in this post & thinking about all the apple pies, apple crisps, & apple spice cakes you will all be making in your future I knew just what I wanted to giveaway! That's right, one of you is going to win your very own KitchenAid Apple Slicer! Look at the perfection!

Step One


Step Two


Step Three


All the details & rules:

If you haven't already; follow here & like my Facebook page!

The Prize is: One (1) KitchenAid apple slicer & free shipping!

Who will win: One (1) winner

To Enter: Like the post on Facebook about the giveaway  & comment below on this blog with;  "Apple slices for everyone!" & tell me what is your favourite type of apple is (Mine is Honeycrisp)!

Prize ships for free in the U.S. only

Contest Ends: on Friday October 25, 2013 at midnight. I will pick the winner using random.org & send you a message privately on Facebook!

Best Wishes & Happy everyday, holiday!


Wednesday, October 23, 2013

Do it yourself; painted pantyhose pumpkins!

Sometimes inspiration strikes, with a twist! If you caught the segment on the today show about unique pumpkins you'll know what I'm talking about. If not, watch the video (you know that hamburger is adorable)!


Visit NBCNews.com for breaking news, world news, and news about the economy


So after seeing the Today Show I thought about what I wanted to do to my pumpkins this year. I had been toying around with the idea of a stencil, or some sort of taped on pattern. Then it clicked! Why not put the pantyhose over the pumpkin & then sponge paint over it to make a funky pattern! I thought if it turns out horrible I can spray paint the whole thing & glitter it! What's to lose?

I rummaged through my pantyhose drawer knowing there would be some forgotten,  "these will look good someday" pair of pantyhose that would do the trick. I felt like I hit the jackpot when I found these patterned ones. So here you have it, a 15 minute craft for you & the kids!


Painted Pantyhose Pumpkins;

say that three times fast


pumpkins
paint
pantyhose
paint brush
wrapping paper
sponge 


Begin by selecting your pumpkin, I choose a small white one so I could have a black & white theme.


Cut wrapping paper & place it in the table to protect it.

Next take your hand & guide your way through the leg to the toe, slide your pumpkin tightly into place in the toe area.


Adjust the pattern to a place you like.


 Then twist on the bottom for a snug fit. Dab some paint onto your sponge & then dab it a few times onto the wrapping paper to create a nice light application.


 Follow your way around the pumpkin & when finished set down to dry.


 After 10 minutes of so come back & slide your pumpkin out of the pantyhose. I painted my stem as well.


 If you're using a plastic pumpkin or fun-kin spray with a clear coat for years of enjoyment!  I love the random pattern I was able to achieve! So what are you waiting for, you have a fun craft to do with the kids! 

When you're done crumple up your wrapping paper & clean up is a breeze!


It's just another everyday, holiday with jillie

fall flavor; slow cooker apples & sweet potatoes

Living in Florida, fall isn't you're classic leaves falling; sweaters all day & fires at night kind of weather. Don't get me wrong, as a Floridian I will convince myself it is cool at 80º, I will wear a sweater while sweating & I will have a fire, roasting marshmallows & whistling Danny's Song (click & enjoy!) because I want to. But there are so many other things that do happen in Florida! Rainy days, new beautiful birds flying south to watch & lots of cooking! I want my house to smell like a warm apple pie everyday & I can't be the only one! This recipe is easy, takes only about 10 minutes of prep & you can have your child help!  This is what I like to call a living candle, real beautiful smells that inspire your family. It will feel so much more like a home, inviting & warm. 
Happy everyday, holiday!


Made with Love; slow cooker apples & sweet potatoes

Bag of apples, (approximately 8)
Bag of sweet potatoes, (approximately 6)
1/2 Cup Maple Syrup
2 Tablespoonsbrown sugar
2 Tablespoons butter, melted
Heavy dash cinnamon
Heavy dash nutmeg


Begin by washing the apples & sweet potatoes in warm water.


 Skin the sweet potatoes & cut into quarters.

 Leave the skin on the apples & slice (I am obsessed with my KitchenAid slicer), it cuts so evenly & takes seconds, I never thought it was anything special or worth a whole 10$ but seriously it is awesome!


 Once all cut, toss apples & sweet potatoes into the slow cooker. Pour in your 1/2 Cup of maple syrup & 2 Tablespoons melted butter.


 Sprinkle on the 2 Tablespoons brown sugar & the heavy dashes of nutmeg & cinnamon. 


Toss lightly. Let cook for four hours! I am serving this side dish tonight with maple glazed pork chops & I will be posting pictures of the entire dish all together later this evening. 


What dishes scream fall cooking to you? I really want to know so comment below!


It's just another everyday, holiday with Jillie


Tuesday, October 22, 2013

Do it Yourself: spooky graveyard!

I decided to tackle a larger project this year for Halloween & take on an entire graveyard! It was really fun & a great way to get the entire family involved. Not to mention it was pretty inexpensive, & totally scary!! In other posts I have mentioned that I do not do scary very well, but was out voted by the family to try something new. I have to say it makes it a lot less scary when you make it yourself & crafting together is always fun! This project took about an hour & is family friendly! So get outside this weekend & enjoy the weather! 


spooky graveyard

1/4" plywood, 23$
paint, 3$
spiderwebs, 1$
bag of soil, 2$
bamboo rods 2$
jigsaw
paint brushes
garden fence


We started with a sheet of 1/4" plywood that we picked up at Home Depot, Matt used some of it for another project & there was quite a bit of scrap left. It was just a plain sanded pine board, nothing fancy, not pressure treated or anything.

 We had a lot of paint as well so we didn't buy any, but you can buy exterior paint sample pots for less than 3$ a piece which is great! We used a charcoal blue color, black & hunter green. We each made a tombstone & you can see our different styles.


 We cut each tombstone into long strips & as wide as we'd like, with the jigsaw (Matt loves his Ridgid if you're in the market). Then we painted a half circle for the top of the tombstone to show where we wanted to cut.


 Next we painted our hearts out, up & down, no real rules or guidelines. Once we got our base color on we flicked, splatted & sponged the other colors on for dimension, again just wherever we felt like. Red paint mixed with water is great for blood! No one used a stencils, we all just free handed our words. This is Matt's, he cut a jagged top to make it look broken with the jigsaw!


 Coming up with what to write on the tombstone was probably the hardest part! Sydney painted this one, it is a quote from one of her favourite Scooby-Doo episodes.


 I just rhymed a name with alive, not gonna lie, I wish I was more clever!


 Next came the time to get them out front. I took some bamboo poles, & cut them with a little hand saw. Various lengths that I kind of matched to go with the height of the tombstone, nothing exact.


 Then I held them & hammered gently. Voilá!


 I felt that they looked a little plain, so I bought a bag of soil & sprinkled some in front of each tombstone. I see a big difference!


 Next I took my bag of spiderwebs & draped it on a few of the tombstones. It really was coming together at this point.


 Matt suggested we take a few of my extra garden fences & spray paint them black, after all we want to make sure nothing & no one get out, spooky! Spray painting is easy if you work in a well ventilated area using quick even strokes & apply multiple coats.Once they dried I hammered them in place!


 While I was in the office typing I looked out the window to see a black cat wandering by the graveyard! Looks like Halloween is coming!!


During the day it's not too scary for the kiddos, but at night with the strobe light, it has a creepy feeling!


 It's just another everyday, holiday with Jillie